Users Guide
SoNET Powered Websites
Introduction
Thank You for using this SoNET Powered Website. By now you have figured out
that your new website is all about providing you the most bang for your buck, so
lets get into all the good things you can do with it. First off, you can upload
Pictures, Video's and even Mp3 files so others can not only read what you have to
say but see and hear it too. Your new site can even have its own members and allow
you to build your fan club or email list and send messages to all your members.
You can change whether it is public or private as well as change how it looks in
just a few seconds without losing any of your information. In addition to that you
can add, edit, spell-check and customize all the text on your website in multiple
languages. You can insert pictures into your front page text, write a Blog and even
post classifieds ads on your site. You can even get comments and ratings on all
the content you post and those who post can follow the conversation from anywhere.
Additionally you can post journal notes, make public announcements across the entire
network and communicate with other site owners on the network via email messaging.
Your site even has its own user management and each member of your site gets a profile.
The custom contact forms and invitations mean that you can build your own hub of
activity and communicate with all your members, generate leads for your business
and more. PayPal support means you can even sell stuff on your new website. These
and many more features are yours when you own a SoNET powered website. There is
nothing, that compares to your SoNET powered website at anywhere near the price
you are paying :) So tell a friend!
Chapter 1. Getting Started
The very first thing you will need to do once you have created your website is to
add a TITLE & DESCRIPTION. This will help you know what your website is all
about (we know it was kind of sudden how fast your site was created and that you
may need a little time to figure out what pictures, videos, music, text and features
you should add next, so adding a TITLE & DESCRIPTION now, will help you figure
it out).
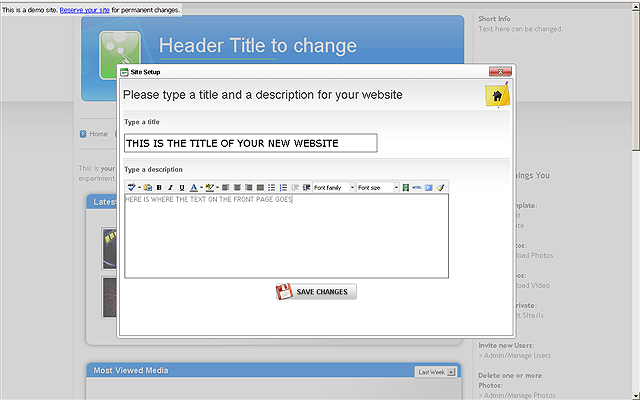
Once you have filled in a title for your site and entered a brief description into
the wizard, you need to click the ADMIN link on the top navigation menu to get to
the Admin controls.
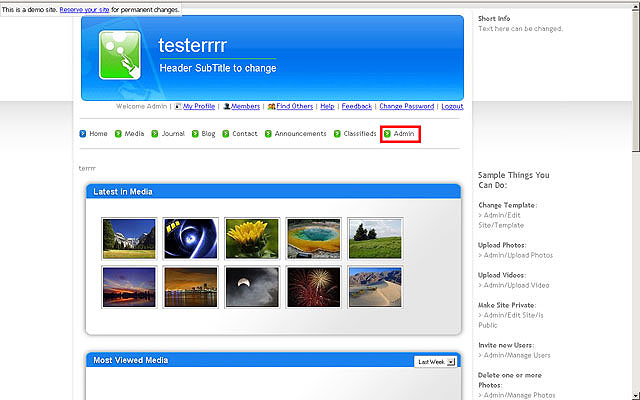
From here you can control most of the functions of your web (This is NOT where the
Customize Front Page options are, to get to those you need to click the HOME link
on the top navigation menu) The Admin controls menu is on the right side (default)
or left side (depending on what Template you have chosen) and is clickable.
NOTE: Newer networks will show the ANNOUNCEMENTS (broadcast a public announcement to the front page announcement area on the network) tool in the Admin controls area.
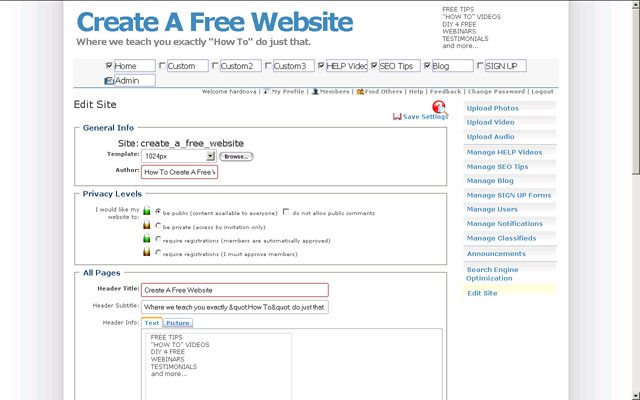
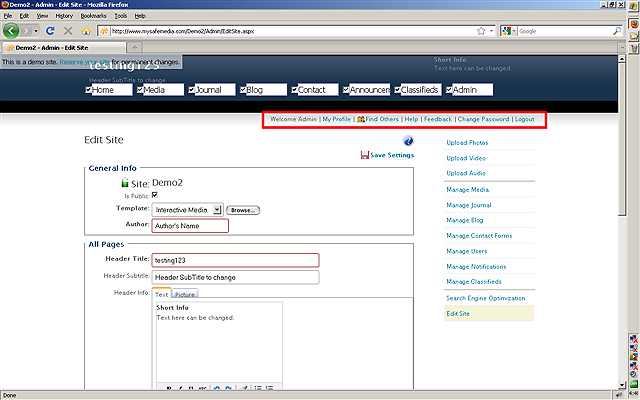
The Edit Site control
Edit Site will allow you to RENAME the buttons/pages on your website and
use basic text editors to place content into the home page area (text and
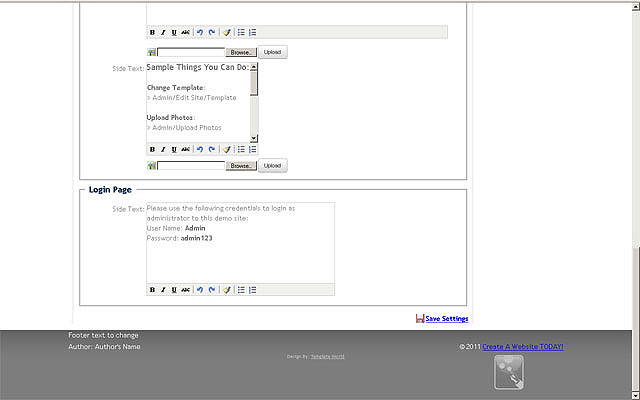
pictures as well as embeded content like videos and even inline frames), the side top (picture OR text) and side area (text and pictures) and
if your website is private, the login area (text only). You may also change the
TITLE, SUBTITLE, FOOTER and AUTHORS NAME area. You may also change the way your
site looks by swapping the TEMPLATE. You may also change your sites PRIVACY LEVEL.
a. Continued screenshot of bottom section (Public Sites ONLY)
b. Continued screenshot of bottom section (Private Sites)
NOTE:
More advanced and full featured editing of the Homepage Text area is
available using the Customize This Page control.
NOTE: Newer networks let you build several additional CUSTOM PAGES (full width pages that allow you to add more content and edit your content using the advanced editor).
NOTE:
To put pictures into text areas on your website you will need to use
the UPLOAD buttons before you try to Save Settings.
NOTE:
To save the page after you have customized it you will need to use the
Save Settings link (picture of a Floppy disk next to it)
Privacy Settings.
You can select one of four (4) different PRIVACY settings for your website and they
are useful for different reasons. Below you will find explanations for the various
settings.
I would like my website to:
1. be Public (content available to everyone)
This means that there is NO security on your website and ALL your content is visible
to ANYONE who chooses to look at it. No registration is possible and you will NOT
see any new users added to your site if you check your User Management area.
|
2. be Private (access by invitation only)
This means that MAXIMUM security is set on your site and NONE of your content other
than you Login area content is visible to ANYONE. You will need to manually add
each and every user to your site using an email address. Your site will then automatically
send an invitation containing the users USERNAME and PASSWORD to them. You will
then see all users in your User Management area. You will be able to message these
users from within your User Management area.
|
3. require Registrations (users are automatically approved)
This means that there is NO security on your website and ALL your content is visible
to ANYONE who chooses to look at it. No registration is possible and you will NOT
see any new users added to your site if you check your User Management area. Your
site will then automatically send an invitation containing the users USERNAME and
PASSWORD to them. You will then see all users in your User Management area. You
will be able to message these users from within your User Management area.
|
4. require Registrations (I must approve all users)
This means that MAXIMUM security is set on your site and NONE of your content other
than you Login area content is visible to ANYONE. You will need to manually approve
each and every user who registers to your site using by using the User Management
area. Your site will then automatically send your user a notification that their
account is now active and they can use your site. You will see all your sign ups
in your User Management area. You will be able to message these users from within
your User Management area.
|
NOTE: Users on your website each have a profile that includes, an about me
/description, photo and some demographical information like sex and location, in
addition to this you can add a note to each profile that the user will not see.
NOTE: Users can not communicate with each other directly but may communicate
by using comments and following conversations on your site.
The My Profile, Find Others, Help, Feedback, Change
Password and Logout controls.
Once you are logged in, you will notice that your website shows a greeting of "Welcome
Admin" (this is the best way to tell if you are in the Admin Area and Logged
In). Next to that is the MY PROFILE control which lets you define a profile for
yourself on your own site. You may notice that your location has already been selected
based on where you were when you created the site, but you are free to change this
on your own. The FEEDBACK link will allow you to send a message to the owner of
the .com you got this website from. Change Password lets you do just that. Finally,
pressing the Logout control will stop your ability to edit your website.
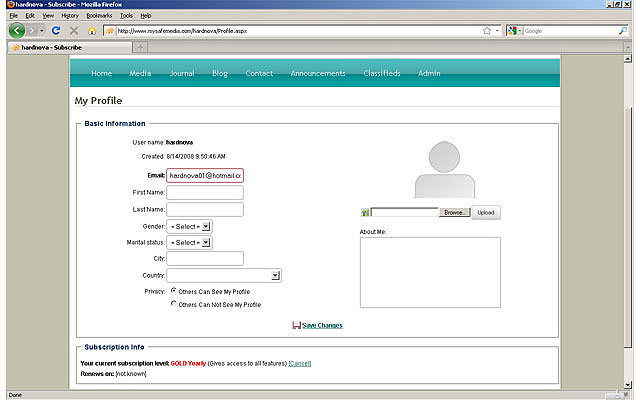
The MY PROFILE section allows you to add some typical items to help others on your
site know a little more about you. Your websites user can also make one if you have
a Private site or a Public site that allows registrations. Your current subscription
status is shown if you are on a network that charges for website use. You can select
if you want others to be able to see your profile information as well by selecting
between the Others Can See My Profile and the Others Cannot See My Profile Privacy
selections. Be sure to press the UPLOAD button before you press the SAVE CHANGES
button in order to save your picture.
NOTE:
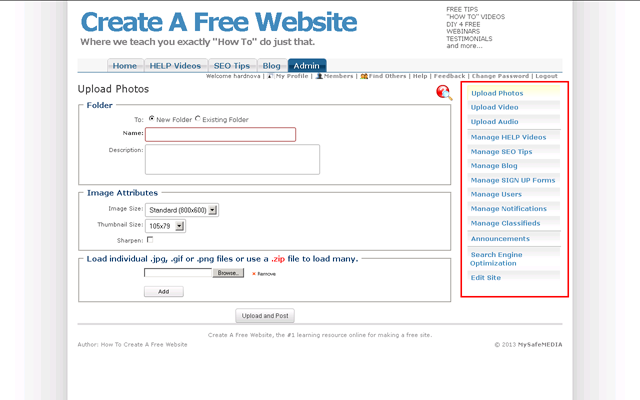
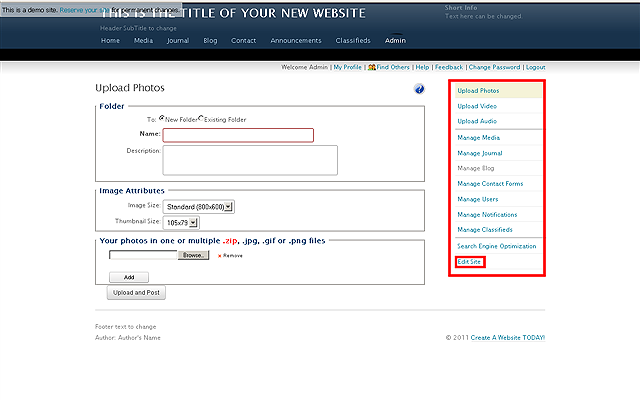
How-To use the image UPLOAD button
-
Wherever you see an UPLOAD button, you can upload a picture. The two places
that will only allow you to upload a single picture are in MY PROFILE (This picture
will show when you make a comment and in the members area of your website) screen
and in HEADER INFO (This picture will show on every page of your website if loaded
instead of text). You will need to remember to press the UPLOAD button and then
the SAVE CHANGES link. You can save text without using the UPLOAD button (this means
for text only, press the SAVE CHANGES button at any time).
The FIND OTHERS control lets you look for other website
owners on the same network and send them messages. Your websites members CAN NOT
send messages to each other or to website owners like you, they can however communicate
with you via comments and by following conversations on your website.
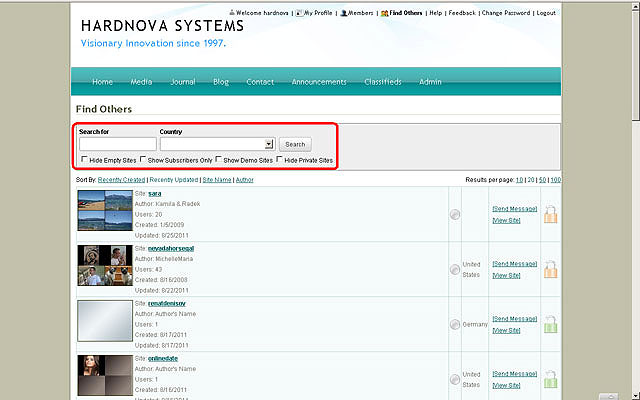
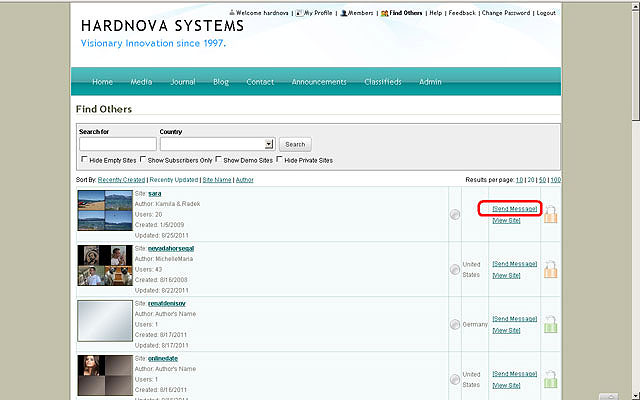
To message another website owner on the network, simply click the
SEND MESSAGE
control. You can also View that persons website by clicking
VIEW SITE.
NOTE: The HELP control takes you to this manual and is also where the videos
to the section you are in are located.
NOTE: Clicking the FEEDBACK control will allow you
to send an email message to the admin of the network you are on.
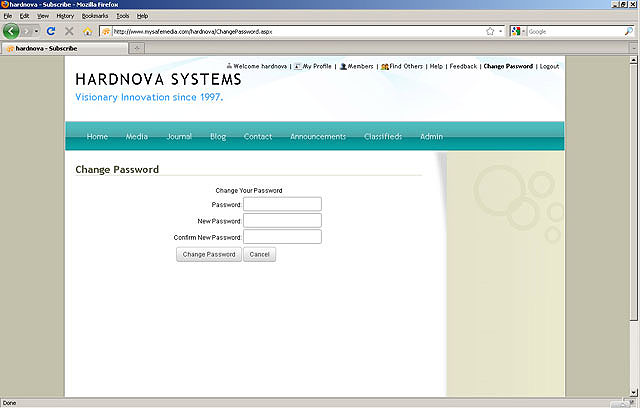
The CHANGE PASSWORD control will allow you to
set or change a password for your Administrator account (the account you use to
edit your site). You will need to type in the current password first in order to
make any changes.
The LOGOUT control will end your session as an Administrator and you will no longer
be able to edit your website.
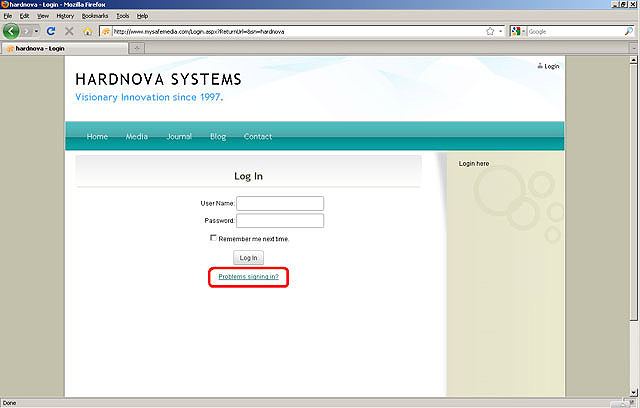
NOTE:
If you forget
your password
simply click the PROBLEMS SIGNING IN control below
the login area.
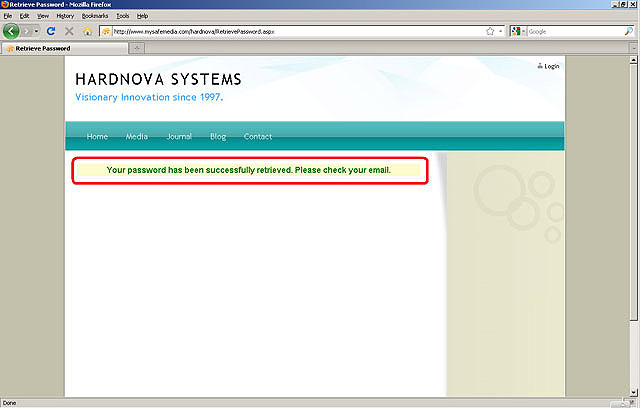
NEXT, enter your email address and click the RETRIEVE MY PASSWORD button..
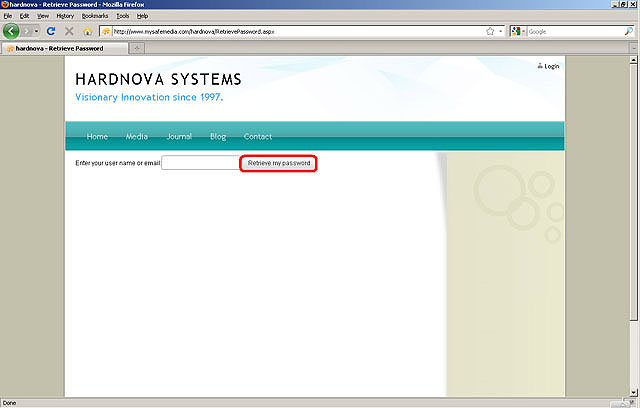
If there is a match then your password will be send to you.